tomakeandtobe
  • Home
  • about
  • workshops
  • Blog
  • contact

check out our new blog posts @ mainecoastcraft.com

12/20/2016

0 Comments

 
We're adding new blog posts to the Maine Coast Craft School website now instead of here -
three new ones are up as of 12.20.2016:

“An Oil Finish for Hand Made Wooden Spoons”
“Finishing a Rustic Welsh Windsor Chair”
“Designing and Building a Cupola for a Yurt”


check out the link HERE.
or go to http://www.mainecoastcraft.com/blog
0 Comments

CLEARING LAND FOR A SALVAGED TIMBER FRAME

11/10/2016

0 Comments

 
And not just any timber frame.
This is the home of our new green woodworking school, the Maine Coast Craft School.
We are set to have our first workshops in bowl & spoon carving, chair making
(both Windsor and post & rung ladder back chairs), some kids classes, instrument making and
spring pole lathe work this coming summer, 2017.

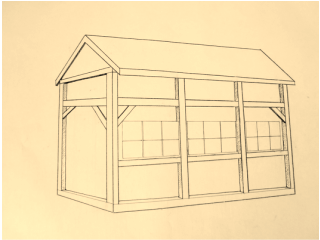
Here’s a drawing I did to get the general proportions of the school building.

Picture
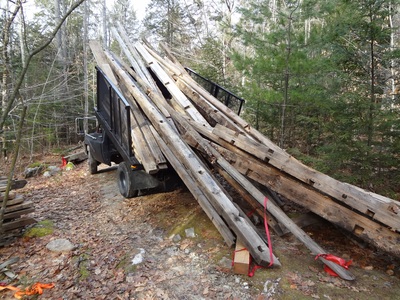
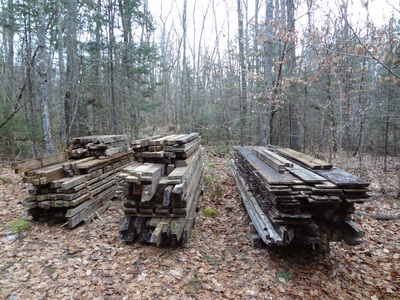
I salvaged this old timber frame a few years ago, it’s a beautiful, hand-made frame from the late 1800’s,
about 26 by 18’, one and a half stories tall.
I have roof rafters, floor joists, wall framing and some of the sheathing as well.

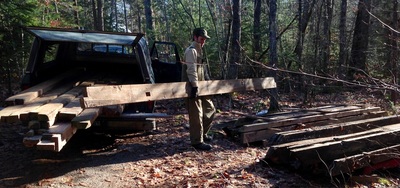
It’s been stacked in pieces on our land for two years now, just waiting for this moment.

So a little background -
my family and I spent some time this past summer (2016) with Drew and Louise Langsner
at their place, Country Workshops, in Marshall, North Carolina.
Some of you may have read about this in the Country Workshops catalogue and newsletters -
we were surprised how many people who know us are on their mailing list.
We had been talking to Drew and Louise about the possibility of moving there to NC and picking up their work of teaching green woodworking as they ease up on their workshop schedule.
We had a great summer together and came away as good friends as always
(ever since I was an intern there in 1995).

But my family decided that we’d like to carry on the Country Workshops tradition, not the location, and the Langsners concurred. That decision rested mostly on the lack of school possibilities for our son
(who is in middle school) anywhere near the Langsner’s home.

Plus we have already put so much into our own homestead here on the Maine coast, why start from scratch?
Why not work to build a school of our own, with the Langsner’s experience to help guide and support us?

We unanimously agreed that was a good plan which suited us all, and so here we go.

Picture
One thing we’ve learned from Country Workshops is that we would be better off to establish a
separate building and piece of land for the school.

Luckily our property consists of 6+ acres (where our house is built) on one side of a dirt road,
with 2 separate acres on the other side.
Our plan is to erect the timber frame on this smaller piece of land.
Eventually we’ll build some Coperthwaite style wooden yurts as guest quarters,
plus an outdoor kitchen and covered, outdoor work space.
Plus we’ll have our 1970’s Airstream Argosy there as well, it’ll be an office or guest space.

Picture
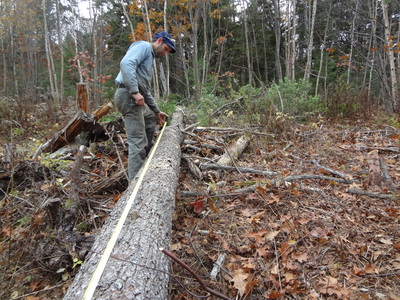
We’ve been working at clearing the site for the school building, hoping to get that all done before
the ground freezes. Then once things thaw we can get to work reassembling the building, recreating
any missing pieces, and getting ready for our first summer.
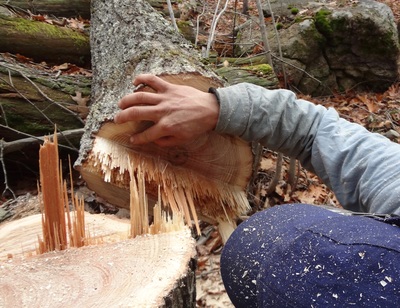
This hemlock will make a few good beams for the sill.
Looks to have been about 80 years old, with a clear burst in size when our land was partially logged
about 15 or 20 years ago.

Picture
So I’ll leave you with this image that my wife put together with a laugh.
We’ll continue blogging about everything interesting on our new website: mainecoastcraft.com
I hope you’ll follow us there and come to Bristol for a visit soon, we could certainly use your support
as we endeavor to launch our school.

0 Comments

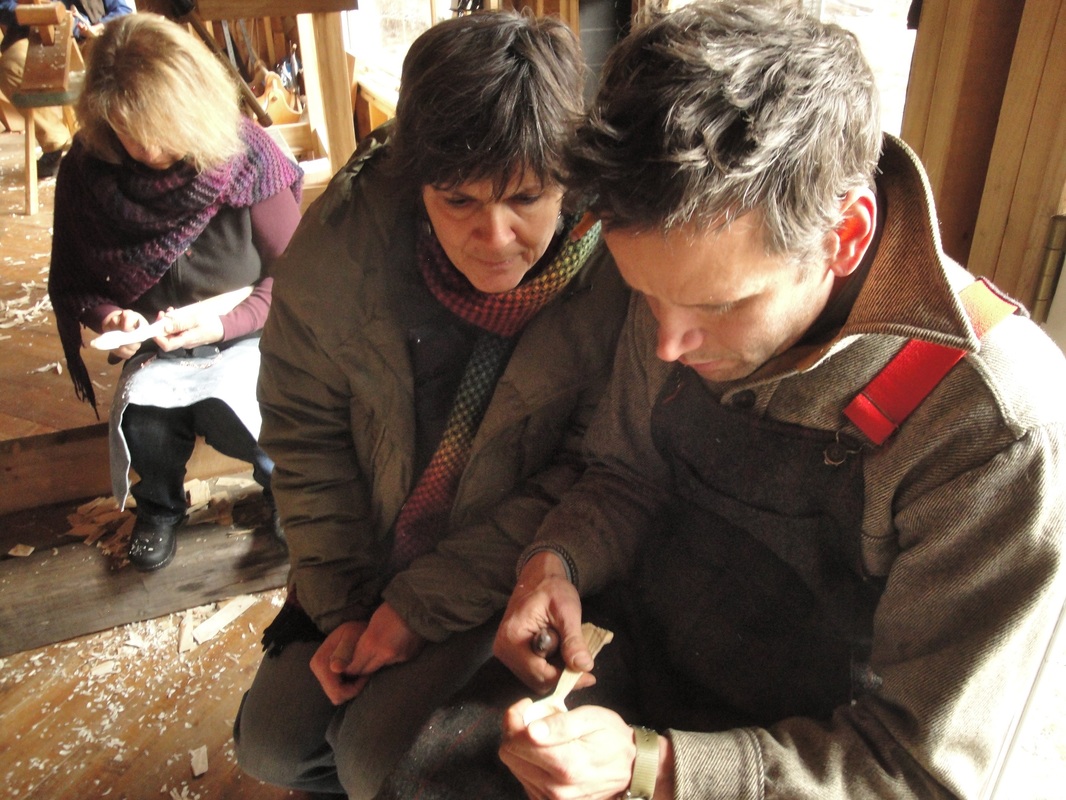
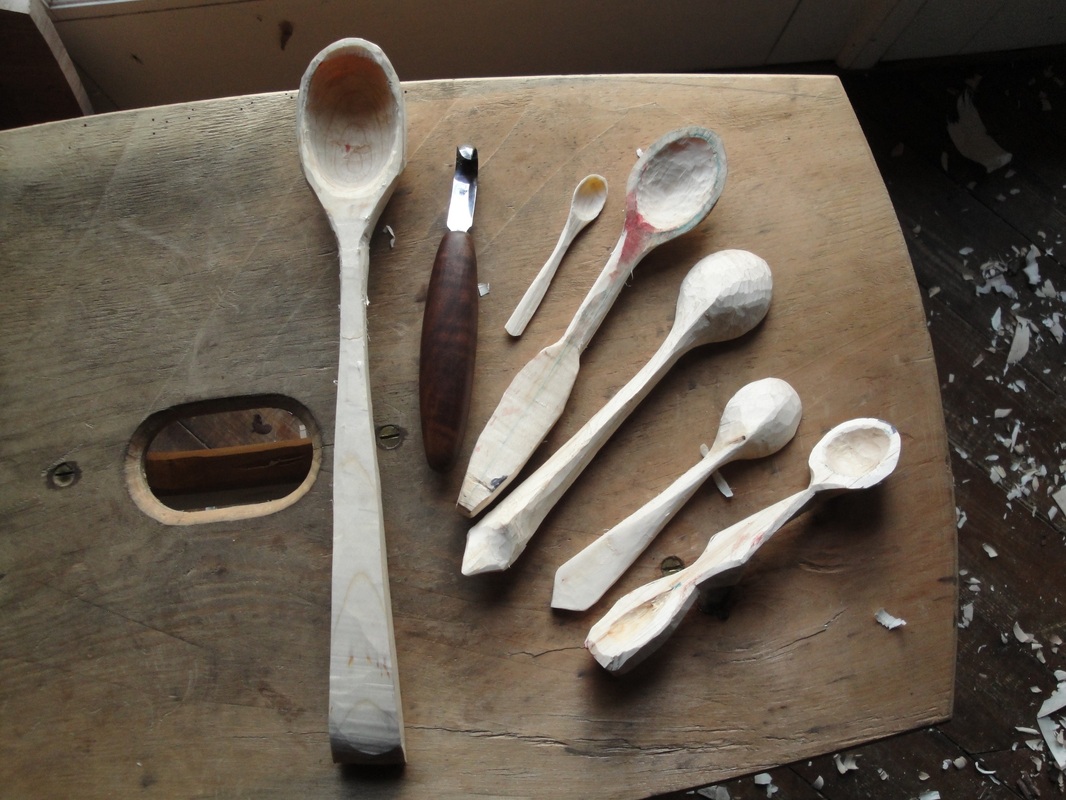
spoon carving workshop 12.2013

3/15/2016

0 Comments

 
Picture
Picture
Picture
Picture
Picture
0 Comments

make a saw for harvesting spoon wood

6/20/2015

2 Comments

 
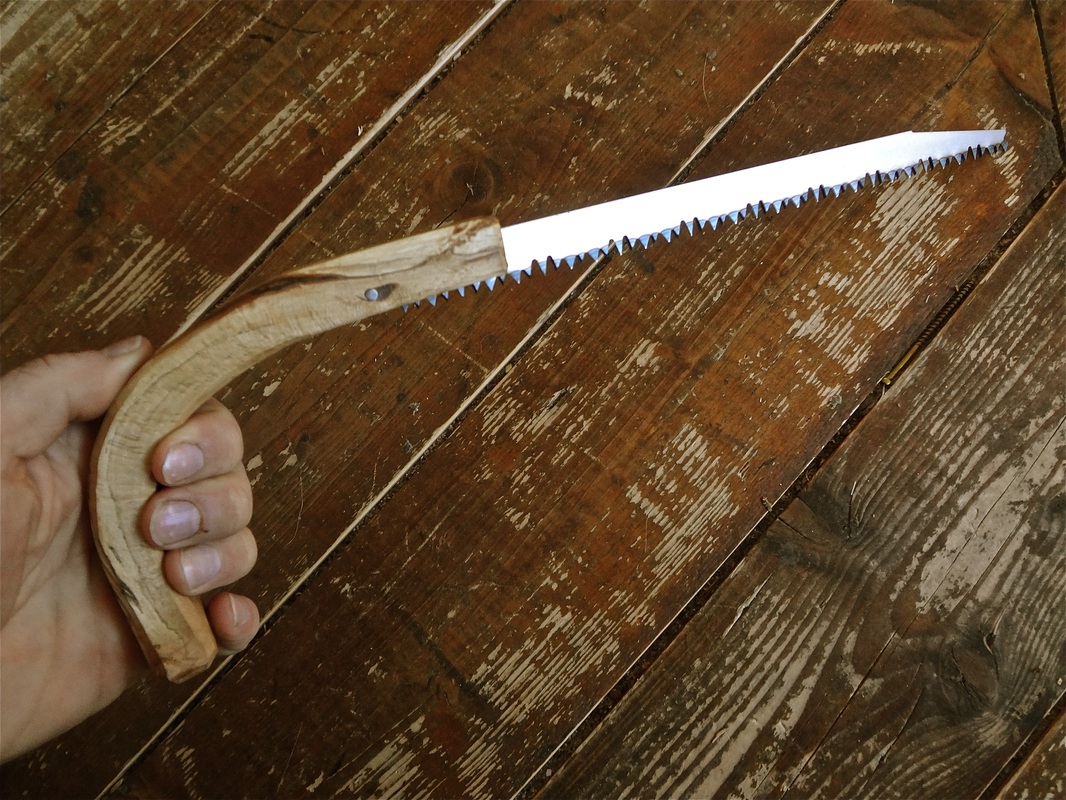
Here's a way to fashion your own custom pruning saw for less money.

For carving spoons, I really like to find gracefully curving limbs; fruitwood or hardwoods are good trees, anything that produces berries or nuts. Once I find a good curve, I prefer to saw off the limb from a living tree with a sharp pruning saw. Green wood is much easier to carve with hand tools. I have used folding pruning saws for years for this purpose, many of which have tempered blades that do not allow them to be resharpened. 

Most of these saws can be quite expensive.
Picture
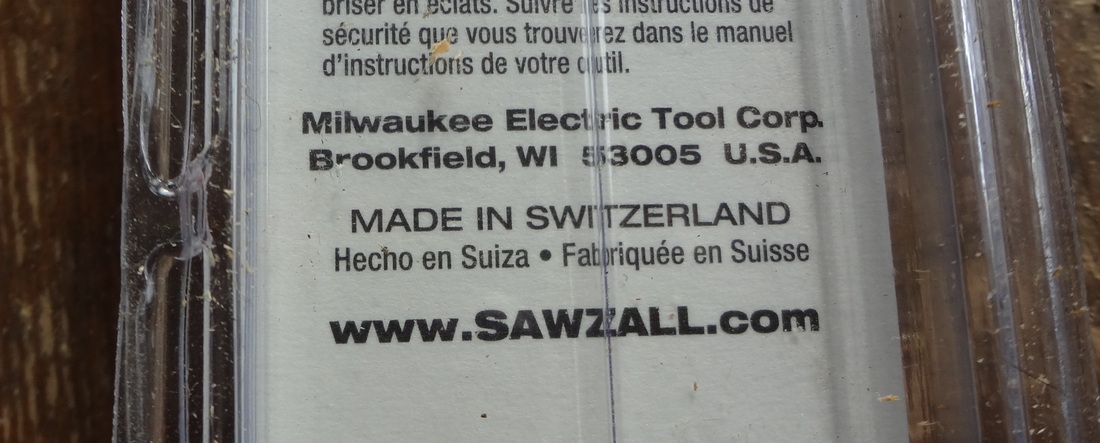
When I first saw a package of blades designed to fit into a reciprocating "Sawzall" type of power tool, I didn't think much of them. My friend Andrew pointed out to me that the blades were made in Switzerland though, and so I gave them a closer look. I wondered if the Swiss saw steel might possibly be as good as my other Swiss tool steel and therefore as good as my expensive Japanese folding pruning saws.
It turns out they are comparable quality steel for a lot less money.
These saw blades I purchased came in a package of five and cost about twenty dollars at the local hardware store. 

So with a little work you can make your own pruning saw and have some spare blades to share with friends or keep for when your saw gets damaged or dull from use.
Picture
Picture
The first step is to find an appropriate piece of wood for your handle. I chose a crook because I like having a saw with a curved handle, so my wrist stays in alignment as I work the saw.
I think any dry hardwood would be a fine choice (note that this is different from the green wood used for spoon carving).
To give the blade enough support, I suggest that it should be at least 3/4" square at the part that will accept the saw blade.


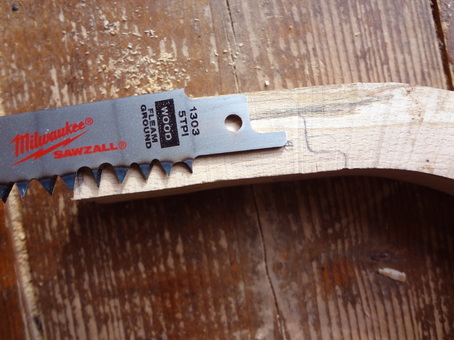
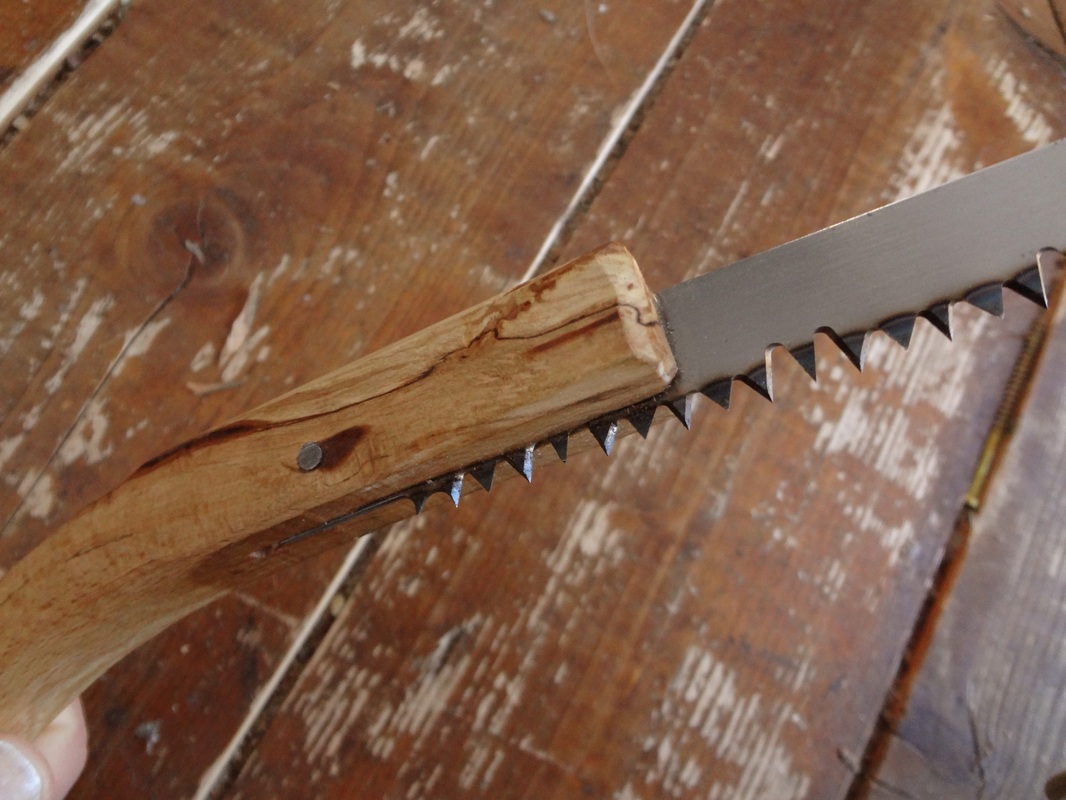
I laid the blade on the handle blank and traced the profile with a pencil. Don't forget to trace the little hole as well. I adjusted the blade so that it was closer to the bottom edge of the handle blank. This leaves most of the wood for the handle on the top side of the blade where it will need the most support while sawing.
PictureThe saw blade on top of the handle blank with pencil tracing of the profile and hole location.

Picture
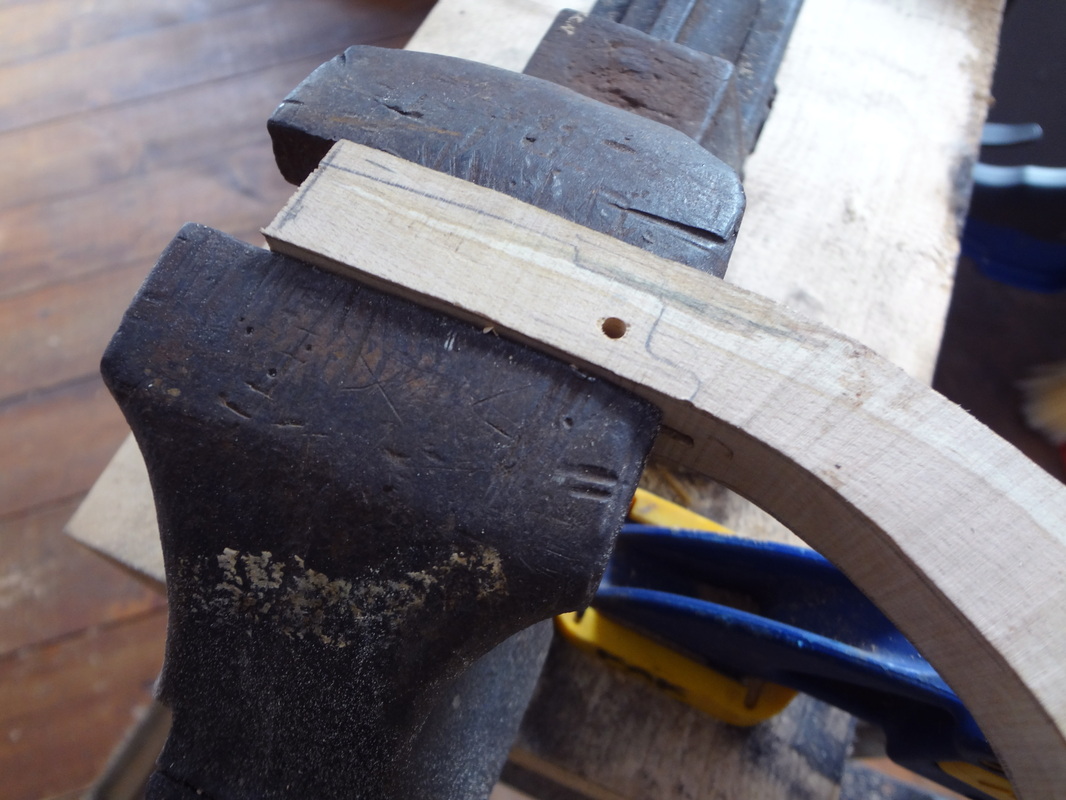
Saw handle in vise with hole and pencil tracing.
Next, I drilled a tight fitting hole to accept a framing nail in the wooden handle blank. Before drilling your hole in the handle blank, make sure your nail just fits the hole in the blade; there should be very little extra room. It is very hard to drill the hole larger in the saw blade, so finding a nail that fits the hole is helpful.

In addition to drilling a hole in the wooden handle blank, you must also saw a slot for the blade to fit into.
I found the pruning saw blade itself made too large a kerf to hold the blade tightly, so I used a small gents saw that made a kerf that fit snugly. You may need to try out a few different hand saws until the best size saw kerf is found.
I cut the kerf all the way through the handle blank but stopped when I got
deep enough to hold the blade (about 1 1/2").
The space for the small tab on the end of the blade can be cut with a small chisel or a knife. The thin blade of a utility knife worked well for me to cut this housing. I think that the tab will add support to the blade while sawing, but if it's too much trouble for you to fit the tab, it could be ground off the blade completely.

Picture
Now that the slot is cut and the hole is drilled, I tested the fit of the blade and made slight adjustments to fine-tune the it. I also checked the alignment of the hole.

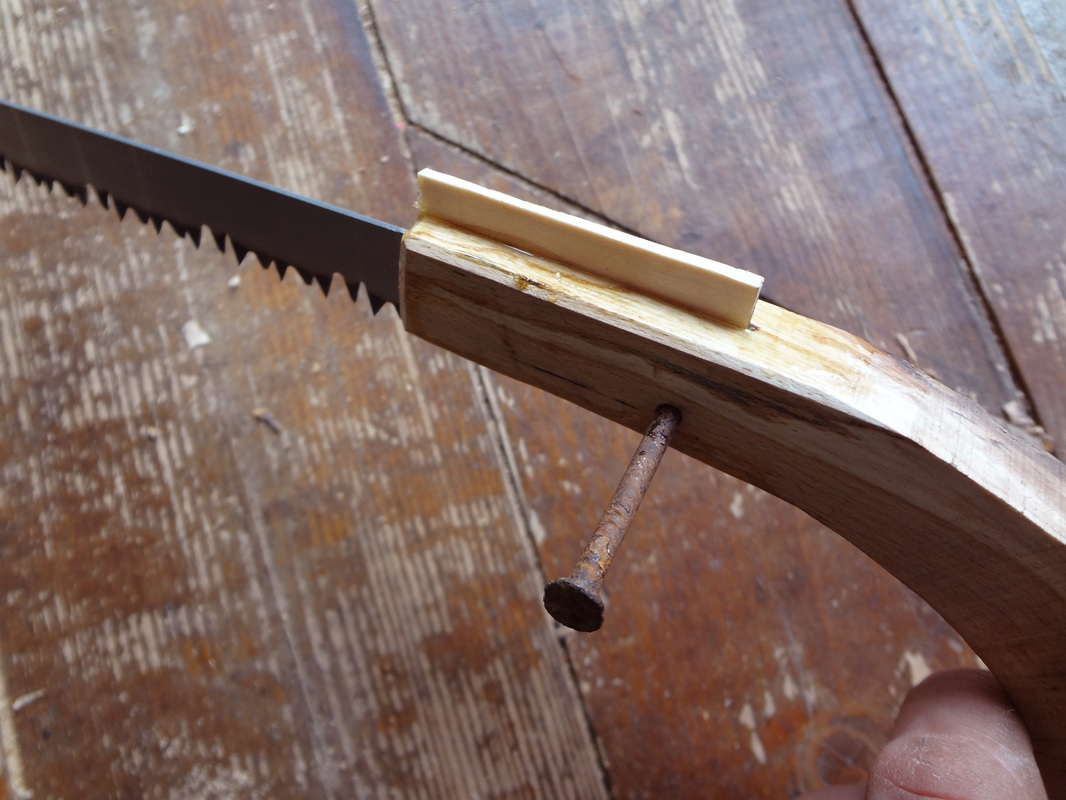
I then cut a piece of wood to fill the kerf above the blade. I dry fit this piece first, then used West System's 

G-Flex epoxy on all the surfaces and put the parts together.
I left the nail proud on both sides, enough to allow me to use a hack-saw to get them off later.
When the epoxy had set I trimmed the filler piece of wood and then hack-sawed the ends of the nail off.
I used a file to smooth off the ends of the nail, flush with the sides of the handle.
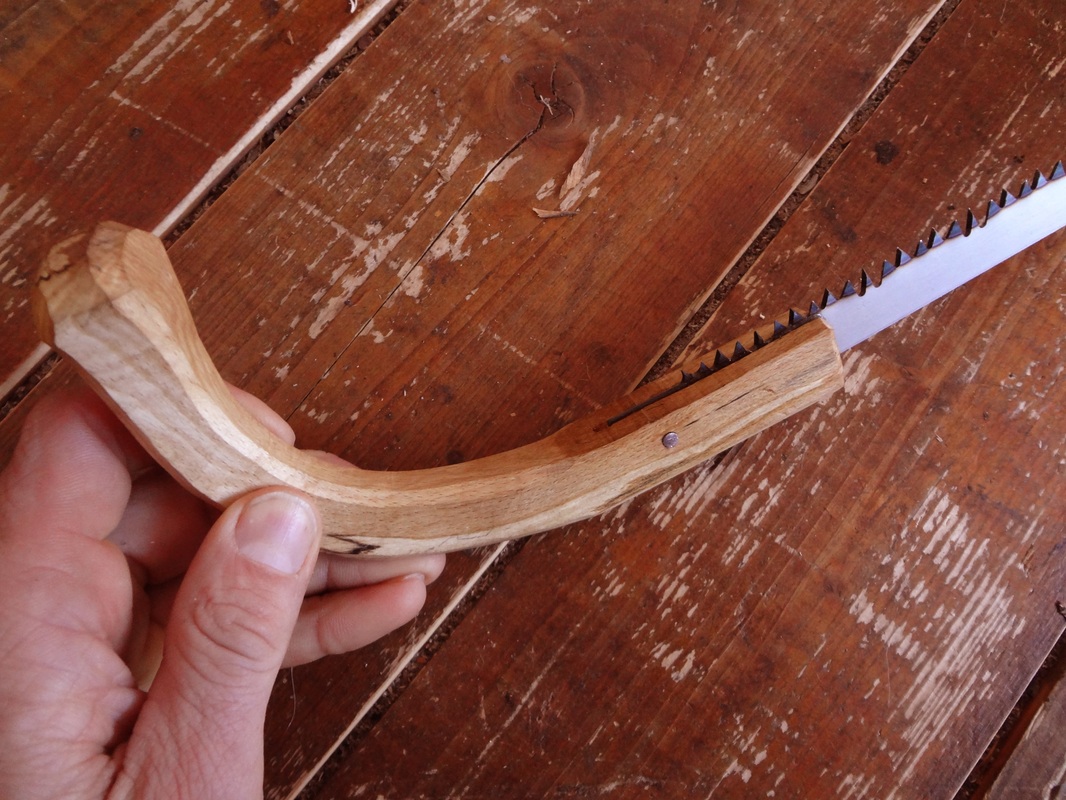
If you haven't already done so, this is a good time to sand or carve the handle blank to your liking. 

In these photos I have used a curved piece of wood for the handle, after having used it a bit I believe that a less dramatic curve would work even better.
I put tung oil on as a finish for the wooden handle.

I usually don't bother to cut the saw teeth on the bottom of the handle, but my son once used my saw and cut his finger on those saw teeth, so perhaps I should. This could easily be done with a bench grinder if you wanted.

The only thing left is a simple sheath and then you're ready to go harvest your spoon wood. 


If you have never pruned a tree before, please research the process so that it causes the least damage to the tree.

If your saw becomes dull, it is not possible to resharpen these blades.
You could try heating up the handle and blade in order to soften the epoxy enough that the nail could be pushed out and the blade wrenched out of the kerf.
I would probably just make a whole new saw and handle, but if you're really fond of your handle, hide glue would be another possibility as you can use alcohol or heat to soften it and get the blade out.

I have been thinking of how to make a saw with an easily replaceable blade, but I haven't done it yet.
Stay tuned!

Picture
Picture
2 Comments
<<Previous

    Author

    Kenneth Kortemeier,
    enjoying the process of making.

    Archives

    December 2016
    November 2016
    March 2016
    June 2015
    May 2015
    March 2015
    June 2014
    April 2014
    February 2014
    January 2014
    December 2013
    November 2013
    October 2013
    September 2013
    August 2013

    Categories

    All

    Picture

    RSS Feed

Powered by Create your own unique website with customizable templates.