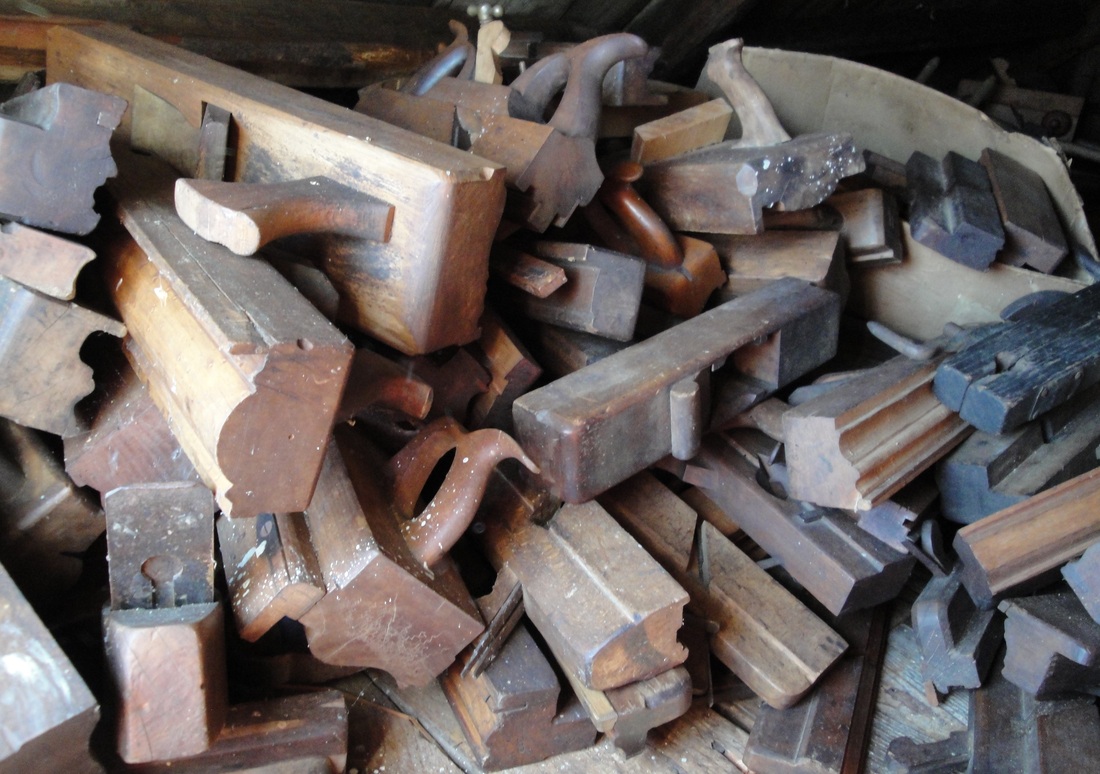
A few of the wooden planes in Huston's collection.
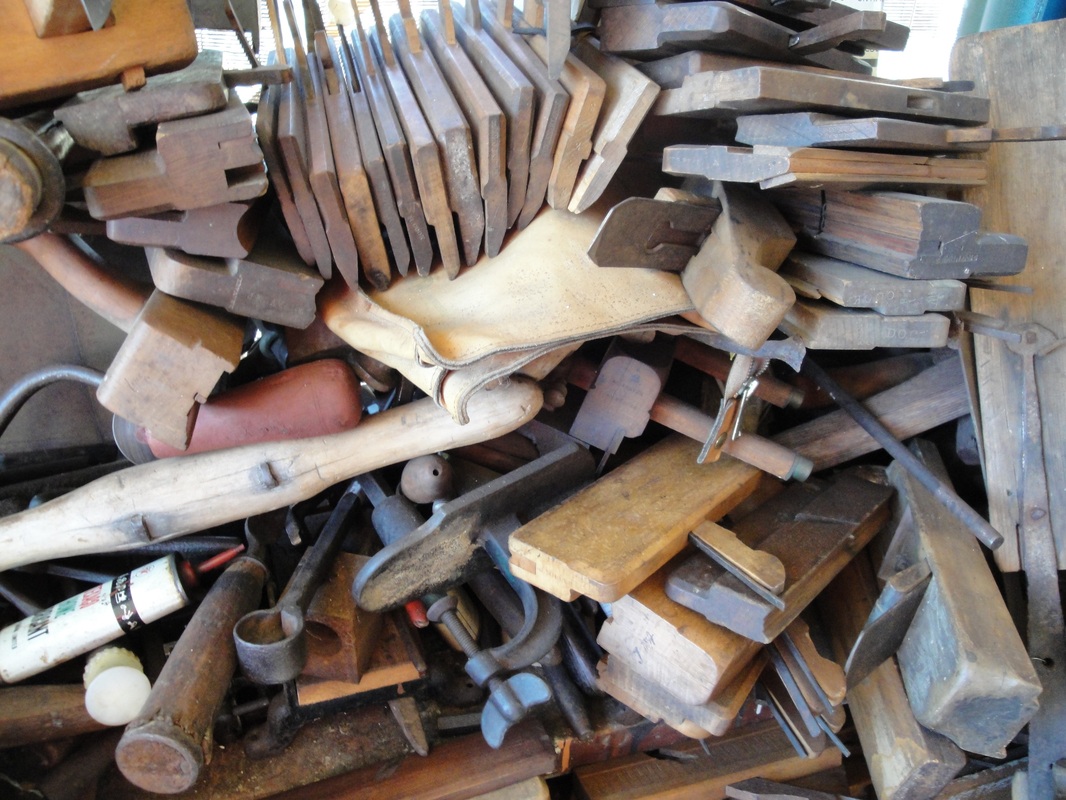
A few more of the wooden planes in Huston's collection.
 Huston holding two molding planes.
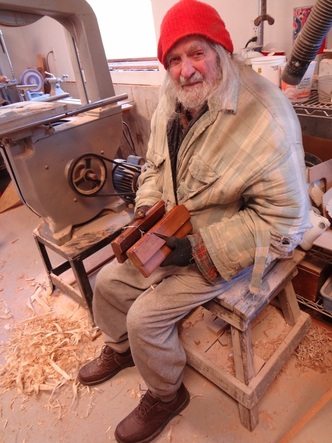
 Huston is very interested in studying the architectural details of 17th and 18th century buildings. The mouldings in buildings can be used to date the building and also identify the builder. Because many builders had a selection of planes that they used on all the buildings they built, some of their moulding details are unique to their buildings. Particular moulding profiles where more fashionable at certain times and so one can get an idea of a building's age or previous repairs by its moulding details. While many planes where made by people specializing as plane makers, others where made by the people using them. Huston has been collecting and using wooden planes for many years. He says that, "people used to just throw them away or even burn them for firewood". A few of the planes he owns he has built himself others he has bought or found. He has a collection the planes to reproduce every moulding that exists within his own 18th century house. He also used moulding planes on much of the reproduction furniture that he builds. Huston does not own many metal planes of any type, especially not metal moulding planes. He says that only the wooden molding planes give one the shallow throat opening needed to work with difficult grain and tear-out.
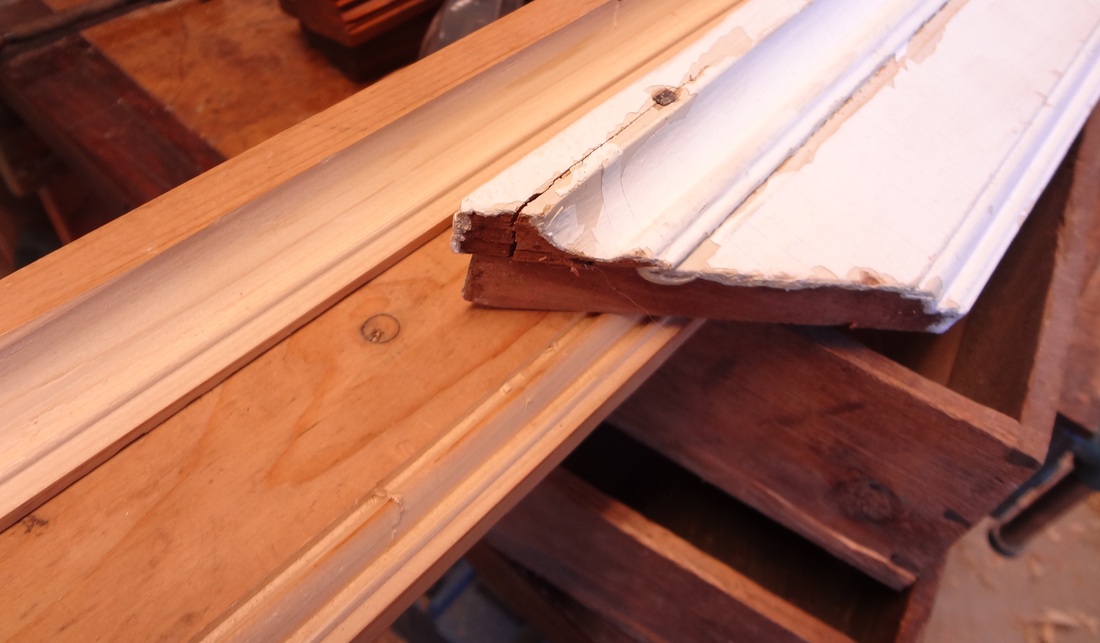
The original moulding in white with the two pieces of reproduced hand cut moulding underneath.
Recently I was converting a single door closet into a double door closet in an 18th century house. I needed to recreate the moulding at the top of the doorway, to make it twice as long. I brought the pieces to Huston thinking that he might have a pair of moulding planes to reproduce the moulding profiles I was searching for. I was able to find the matching moulding planes and I asked Huston to show me any special tips he had for using wooden moulding planes.
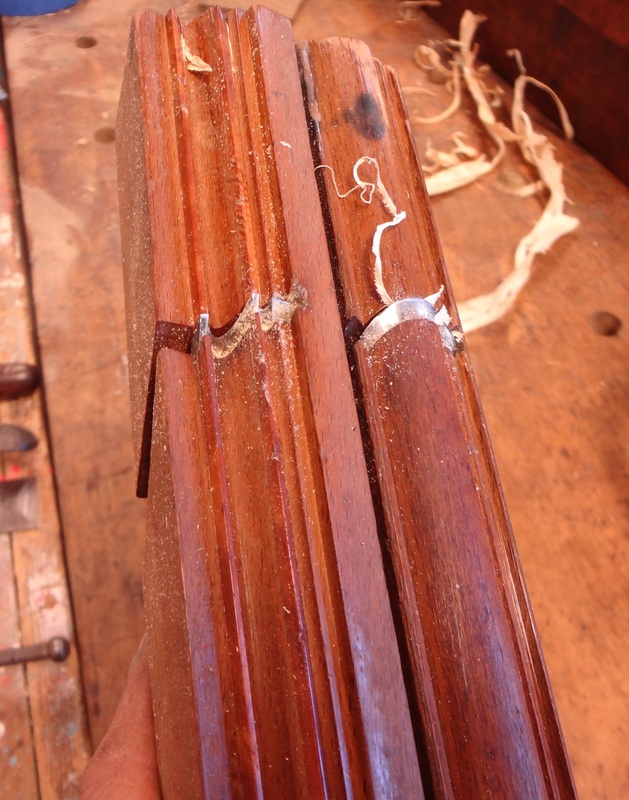
The working side or sole of the two wooden moulding planes used to reproduce the profiles for this project.
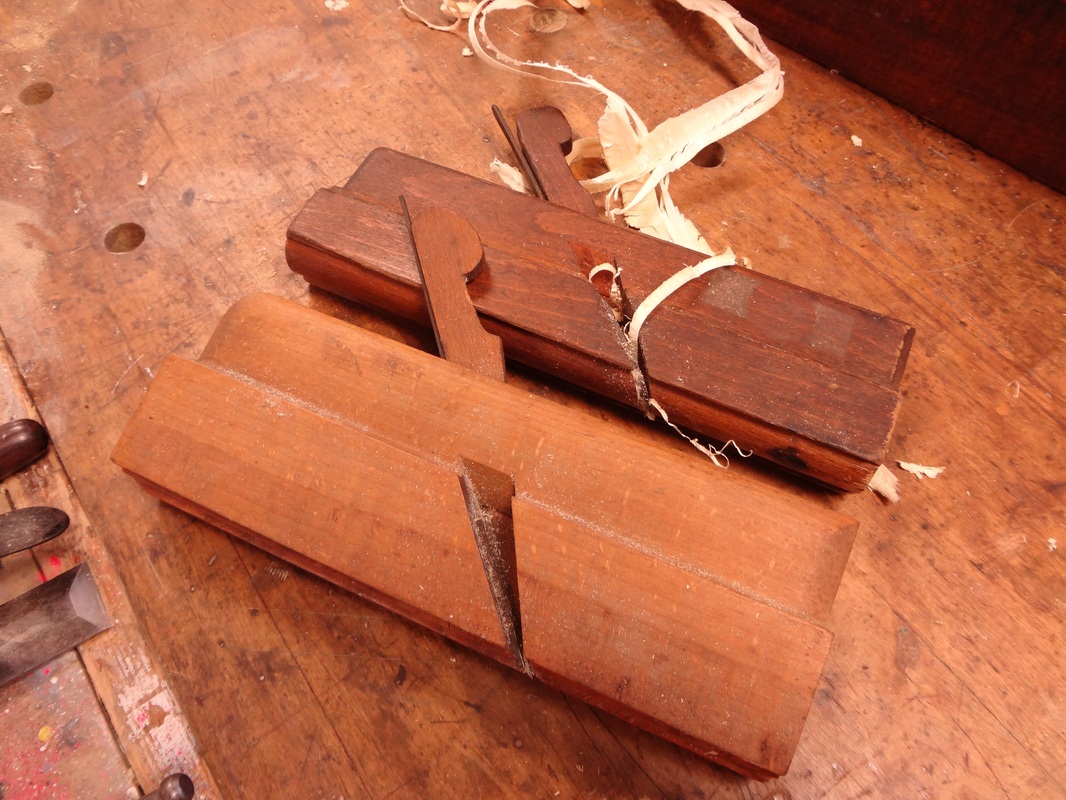
The two wooden moulding planes used for this project.
Here are a few tips Huston offered on using wooden moulding planes:
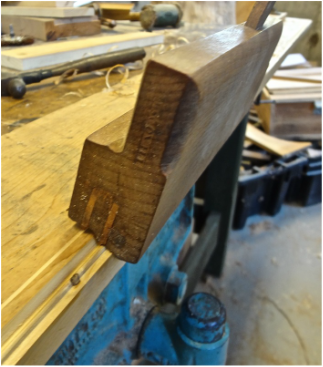
1. Every plane has a reference mark on one end or the other that shown the proper orientation of the plane to the surface of the board being cut.
2. By tapping the friction wedge lightly with a small hammer, one can usually keep the blade in position but it often moves. Don't over tighten, as you risk splitting the plane body.
3. Try and use tight grained clear pine for mouldings. Use quarter-sawn lumber if possible. The consistent grain and texture of the soft wood makes for easier planing.
4. Keep the plane's blade sharp and only have it's depth protrude just enough, so that the chips wont get stuck in it's throat opening.
5. Start slowly and try and run to plane the whole length of the board. Once the profile begins to be cut it will provide a reference for continued planning.
6. The depth of the profile is determined by a stop which is milled into the sole of the moulding plane. It makes it so that the plane simply wont cut past a fixed depth. This reference is usually parallel to the face of the board being planed.
This photo shows the moulding nearly cut to finished depth. Notice the depth stop on the left upper edge, it's not quite touching. The right lower edge has a planed surface that is an reference for the angle with which to hold the plane while cutting the profile. It is kept perpendicular to the edge of the board.

 RSS Feed
